Guides
Part of Digital wallet guide: credentials, tokens, devices, accounts, and acceptance
How to set up and audit a mobile wallet safely
A mobile wallet borrows its security from the phone, the cloud account and the card issuer, so setup and audit form one continuous sequence.
What to take away
- A wallet stores a device credential, not your card number, so the phone and the cloud account behind it carry the risk.
- Secure the phone and the account before you enroll a card, not after.
- Add one card first so a failed verification has one place to look.
- A test purchase should match in three recordswallet, merchant receipt and issuer statement.
- Recheck cards, devices, permissions and recovery routes after any phone number, handset or bank change.
Where the risk actually sits
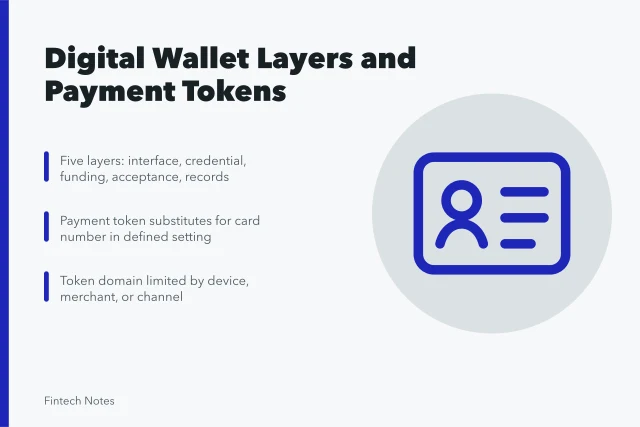
A mobile wallet holds a payment credential the issuer issued for that device. Your card number stays with the issuer. The credential lives on the phone, syncs through a cloud account, and is released by the issuer at the terminal.
Four parties in the wallet chain
- Device maker
- Wallet provider
- Cloud account
- Card issuer
That chain has four parties: the device maker, the wallet provider, the cloud account and the card issuer. Each one can fail on its own, so setup is a sequence rather than a single setting.
Identify the wallet and who runs it
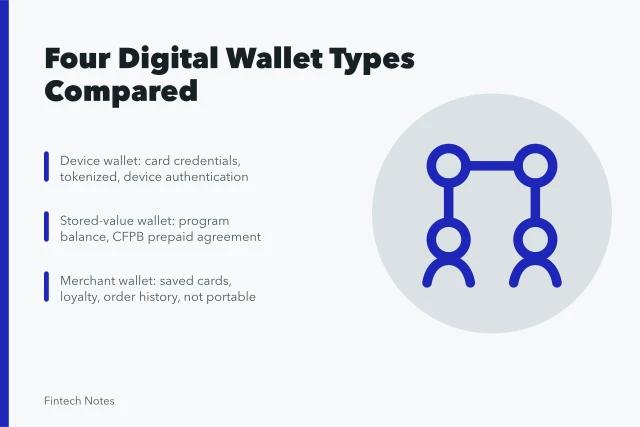
Check the publisher name in the app store listing, the supported region, and whether the wallet holds funds or only credentials. A wallet that stores a balance is a different product from one that stores a card.
Record before enrolling
- Wallet name and version
- Legal provider
- Cloud account used
- Support address
- Balance or card credentials only
- Terms and privacy notice date
An icon that looks familiar proves nothing. Open the store listing from the device maker's own documentation rather than a search result.
Secure the phone first
Install pending operating-system and security updates. Remove device-management profiles you did not add. Turn off developer options unless you use them, and clear out apps you no longer recognize.
Secure the phone first
- Install OS and security updates
- Remove unknown management profiles
- Turn off developer options
- Delete unrecognized apps
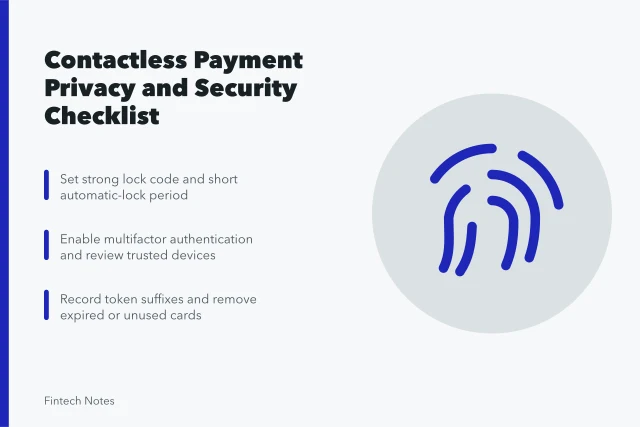
- Set a unique screen-lock code
- Set screen to lock quickly
NIST's mobile device security practice guide sets out the risk areas for mobile devices: device integrity, authentication, application control, network protection and data safeguards. It is written for organizations managing fleets, so read it for the categories rather than as a checklist for one handset.
Set a screen-lock code you do not use anywhere else. Fingerprint and face sign-in are conveniences layered on top of that code, not replacements for it. Set the screen to lock quickly when it is set down.
Protect the cloud account behind the wallet
The wallet usually depends on an Apple, Google or Samsung account for backup, device management and recovery. That account is the real key.
Protect the cloud account
- Use a unique password
- Turn on app or hardware second factor
- Remove unrecognized signed-in devices
- Update recovery email and phone
- Save backup codes off the phone
A recovery code stored only on the phone it is meant to recover is not a recovery code.
Set up loss controls before you need them
Turn on find, lock and erase for the device. Sign in to that service from a second trusted device once, so you know it works before an emergency.
Which loss action to take
Is the device physically missing?
Mark device lost
Is the credential compromised?
Keep verified contact routes for the mobile carrier, the wallet provider, the card issuer, and your employer if the phone reaches work systems. Decide now which event triggers which action: marking the device lost, suspending the wallet credential, requesting a new card, or erasing the handset. Those are four different steps with four different effects.
Add one card and watch the verification
Start with a single card. Read the issuer name, the last four digits and the billing address on the enrollment screen before you approve it.
Verify one card enrollment
- Read issuer name on screen
- Check last four digits
- Confirm billing address
- Expect issuer-controlled verification
- Treat unsolicited codes as warning
- Confirm different last-four with issuer
The issuer will verify through its own app, a number printed on the card, or another route it controls. A one-time code that arrives without you starting an enrollment is a warning sign. Never read a code to someone who called or messaged you.
The wallet may show a different last-four value than the plastic. That is often the device credential, not a mistake. Confirm with the issuer before you remove and re-add the card.
Set the default and the authentication behavior
Decide which card is the default, then check whether express transit or low-value modes skip the normal sign-in. Turn on only what you understand.
Review these settings on the phone and again on any paired watch:
Audit phone and watch settings
- Purchase authentication
- Default card
- Wearable access
- Transit mode
- In-app and online checkout
- Transaction notifications
A watch keeps its own settings. Auditing the phone alone leaves half the surface unchecked.
Review permissions and privacy
The wallet asks for the following:
Wallet permission purposes
Permission
- Camera
- Scans cards and QR codes
- Contacts
- Person-to-person transfers
- Location
- Merchant data and fraud checks
- Notifications
- Transaction alerts
Why it is asked
- Camera
- Contacts
- Location
- Notifications
The camera scans cards and QR codes. Contacts support person-to-person transfers. Location feeds merchant data and some fraud checks. None of that justifies permanent access to everything.
Read the privacy notice for what is collected, shared, retained, and linked across your devices. A device credential hides your card number from the merchant. It does not stop the wallet from collecting transaction and device data.
Run one controlled test purchase
Buy something small from a merchant you know. Then check seven things:
- Which card the wallet used.
- What authentication appeared.
- What the terminal displayed.
- What the wallet notification said.
- The amount on the merchant receipt.
- The pending and posted entries at the issuer.
- The descriptor and the credential suffix.
If the terminal response is unclear, do not tap again. Ask the cashier whether the payment approved first.
Keep an inventory outside the wallet
Store this somewhere other than the phone:
| Item | What to record |
|---|---|
| Device | Model and identifying details |
| Cloud account | Username and recovery route |
| Cards | Issuer and last four digits |
| Wearables | Device and wallet status |
| Stored balance | Provider and withdrawal route |
| Support | Verified numbers and addresses |
| Loss controls | Date last tested and how you signed in |
Never record full card numbers, security codes, wallet PINs or seed phrases here.
Audit on a schedule
Run this monthly, and again after any change to the handset, phone number, card or bank account.
- Remove expired and unused cards.
- Check signed-in devices and active sessions.
- Confirm the default card.
- Read wallet and issuer notifications.
- Revoke permissions you no longer use.
- Update the app and the operating system.
- Test the find, lock and erase controls.
- Export the transaction records you need.
- Recheck subscriptions before removing a card.
Remove access cleanly
Before you sell, trade in or hand over the device:
- Remove wallet cards and passes the way the provider directs.
- Unpair watches and accessories.
- Sign out of the provider accounts.
- Withdraw or transfer any stored balance.
- Back up the records you need.
- Run the official erase or factory reset.
- Remove the device from trusted-device lists.
- Confirm the carrier and your employer no longer tie it to active access.
Deleting the app is not the same as removing the device credential or the cloud data behind it.
Common questions
Should I add every card at once?
No. One card first keeps verification, defaults and notifications in one place, so a problem has an obvious source. Add the rest once the first card works end to end.
Is face or fingerprint sign-in enough on its own?
It sits on top of the device lock and the cloud account, so it is only as strong as those two. Keep a strong fallback code and protect the account that can restore the wallet to a new phone.
Why does the wallet show different last four digits?
The issuer may have issued a device credential that differs from the plastic card number. That is normal for tokenized wallets. Ask the issuer to confirm before you remove and re-add the card.
Does removing a card stop recurring charges?
Not always. Subscriptions and merchant-stored credentials can survive the removal. Cancel them through the merchant's own account settings, then confirm the next billing cycle.